What Local Conditions Do
Pomona's housing stock runs from 1951 to 2007, with most of it landing in that 1960s-70s wave the area is known for. That matters for sensor alignment because the brackets holding your photo-eyes were mounted once, decades ago, usually to wood jambs or a stucco return that's moved a little every year since. Wood framing from that era shrinks as it dries out over the long run, and a quarter-inch of twist at the base is enough to walk a sensor's aim off a dime-sized target ten feet away.
Pomona sits in a moderate-heat climate band, not desert-extreme, but enough for real daily swings. A concrete slab that's cool at 6 a.m. and hot by 2 p.m. expands and contracts, and if a sensor bracket is lagged into that slab or into a post set near it, the bracket moves with it in tiny amounts you'd never see with your eye. Do that every day for a season and the beam that used to cross dead-center starts clipping the edge of the lens instead.
None of this is a defect. It's just what happens to 1960s-and-70s mounting hardware after enough afternoons.
Checking It Yourself
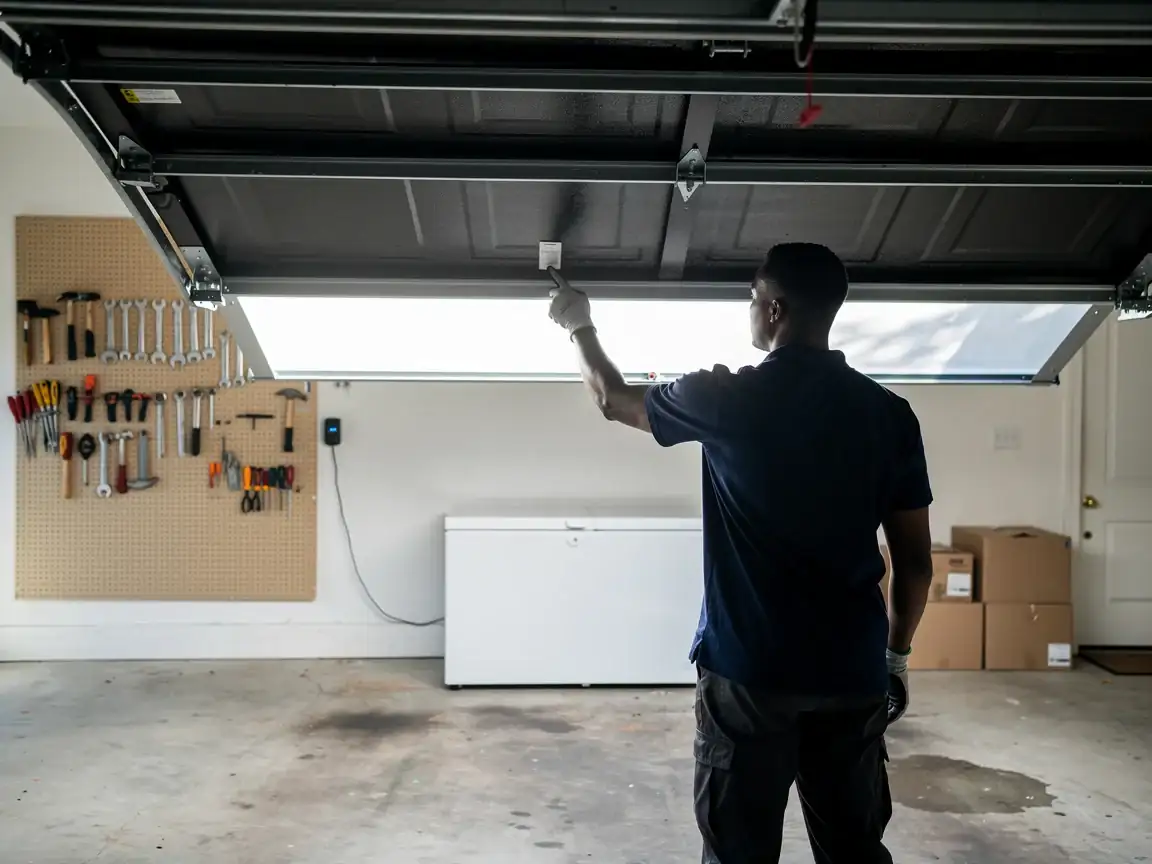
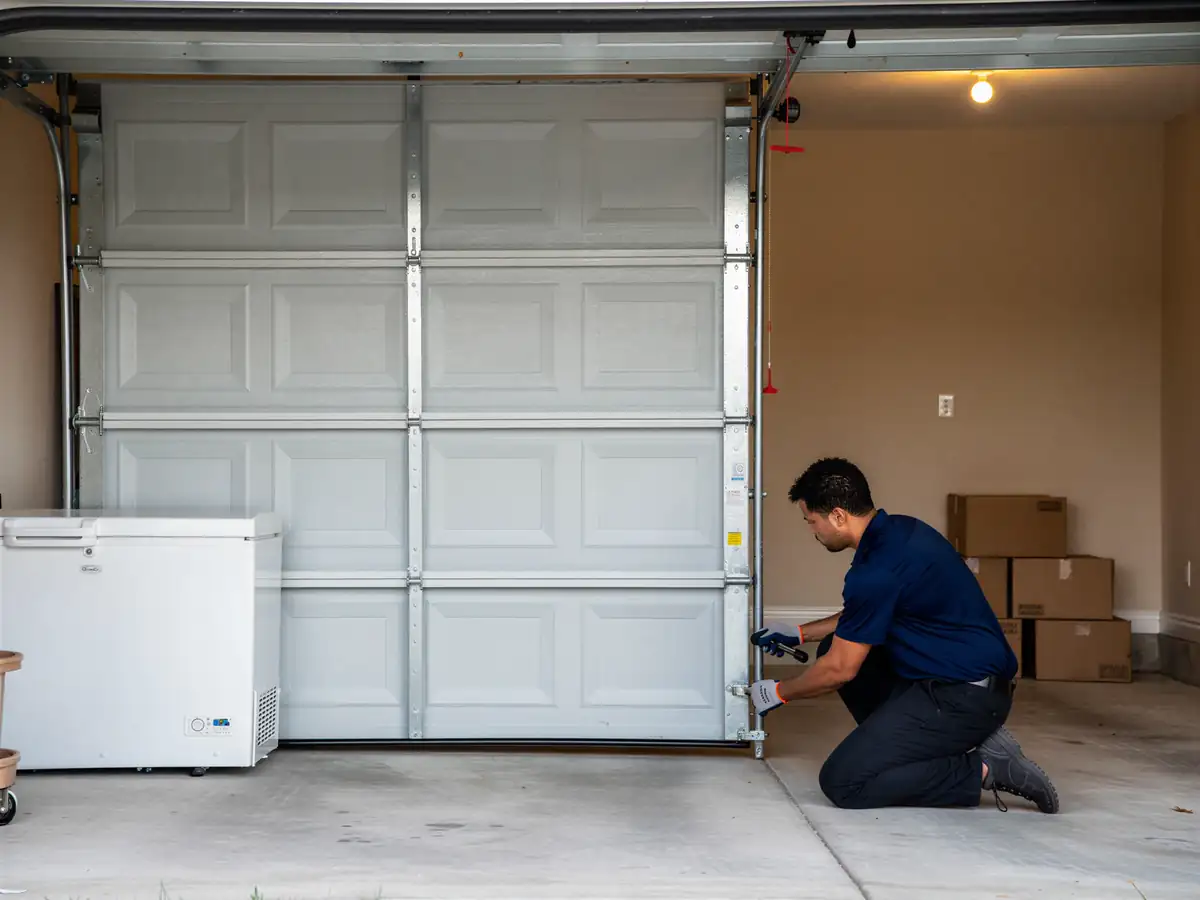
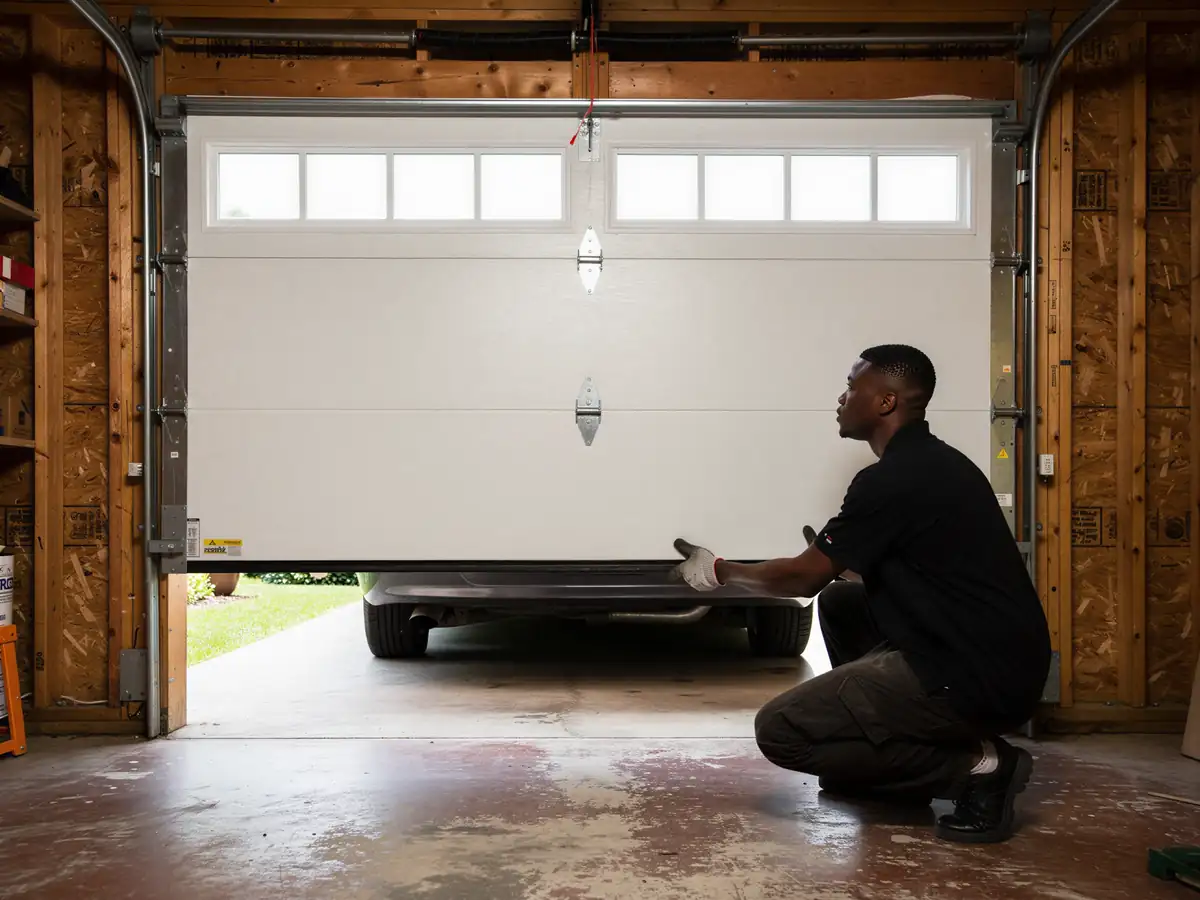
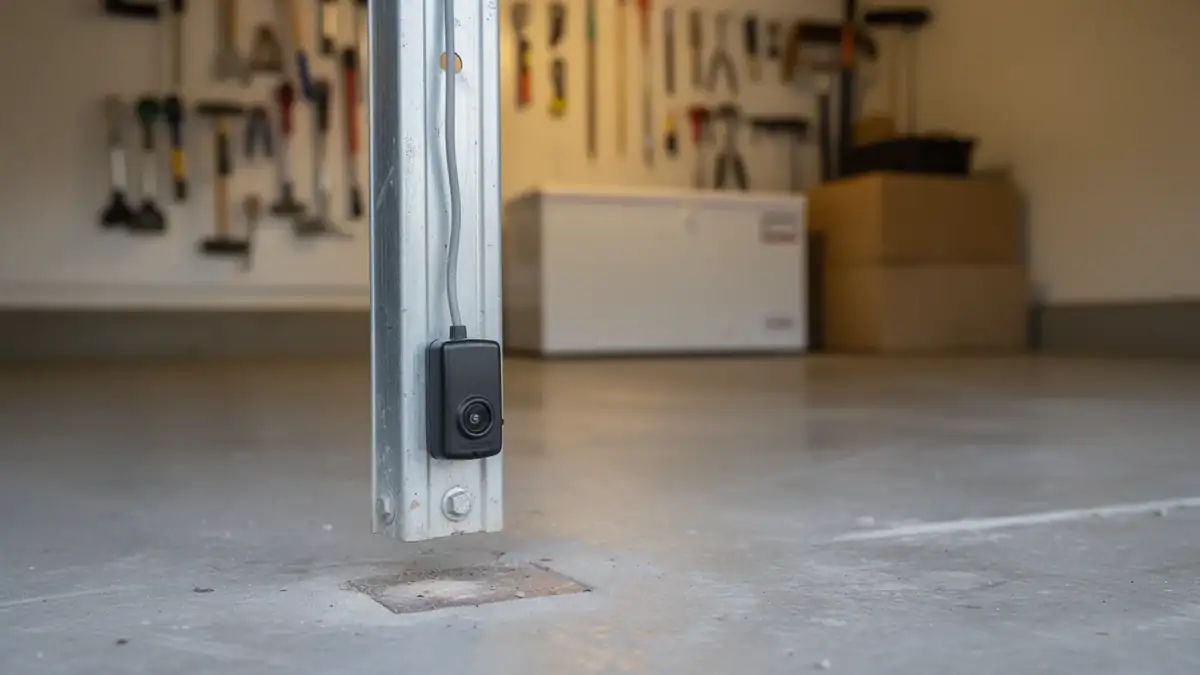
Look at the two sensors low on each side of the track, a few inches off the floor. Each one has a small LED. On most openers, one glows steady and the other blinks or glows dim when the beam is aligned; if one light is out, off, or flickering, that's your first clue before you touch anything.
Wipe both lenses with a dry cloth first. Pomona's building stock being as old as it is, these brackets often sit near a garage's exterior edge where dust and the occasional cobweb collect, and a dirty lens reads the same as a misaligned one to the opener's logic board.
Next, check that neither bracket has physically shifted. Put a hand on each one and apply light pressure. If a bracket rocks, even slightly, the wood or stucco behind it has loosened its grip on the screws over the years, and tightening those screws is a five-minute fix. If both lenses are clean, both lights are correct, and neither bracket moves, the drift is likely happening at the swing of a cable or bracket further down the track, not at the sensors themselves.
The Situation
The call we get most in Pomona isn't usually "my sensor is broken." It's "my door reverses for no reason" or "my door won't close at all some days but works fine other days." That pattern points straight at drift, not failure
A sensor that's fully dead gives you a dead opener, full stop. A sensor that's misaligned by a few degrees gives you a door that works in the morning when the slab is cool and fails by late afternoon once the heat has shifted the bracket a hair.
Given that most of the garages in this service area date to the 1960s and 70s
With the overall housing stock spanning 1951 to 2007, we're rarely dealing with original factory-set brackets. Somebody's drilled new holes, moved a bracket to make room for shelving, or replaced a water heater next to it and bumped the mount. Each of those small changes adds a little slack. The moderate heat band this area sits in just keeps testing that slack, day after day, until the beam stops crossing clean.
The Common Mistake
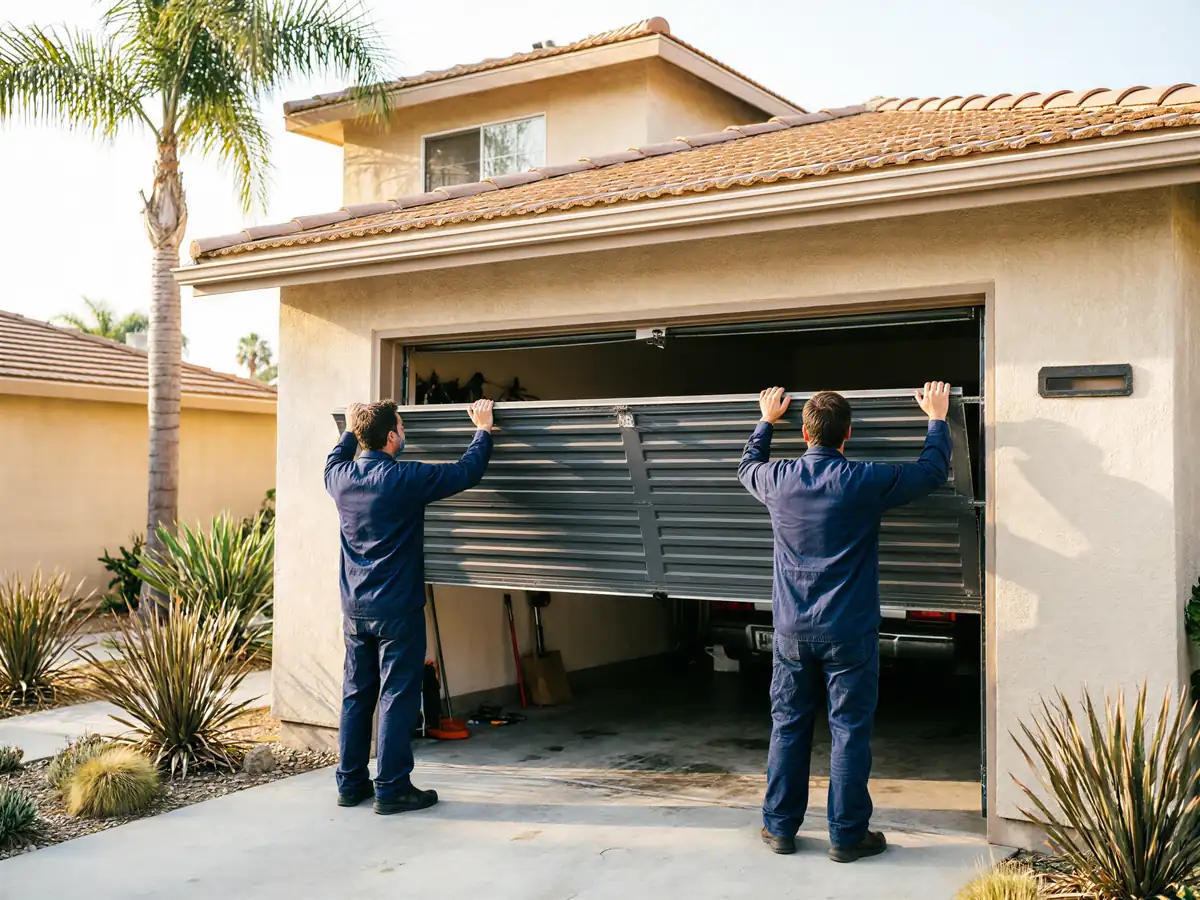
The mistake we see most is replacing the sensors before checking the mount. A homeowner buys a new photo-eye pair, wires them in, and the door still reverses intermittently because the problem was never the sensor electronics. It was the bracket shifting against a wall that's had fifty or sixty years to settle.
Here's the honest limit: if a bracket is mounted into wood that's cracked or rotted at the point of attachment, tightening the screws buys you a few weeks at best. At that point the fix is a new mounting point, not a tighter screw, and we'll tell you that straight rather than keep adjusting something that's going to keep working loose. We'd rather spend ten minutes diagnosing which failure mode you actually have than sell you a part you don't need.